Foam Wing Tutorial
This tutorial will show you how to make medium sized EVA foam wings using: 5mm foam, aluminum wire, hot glue, contact cement, foam clay, sandpaper and a dremel tool.
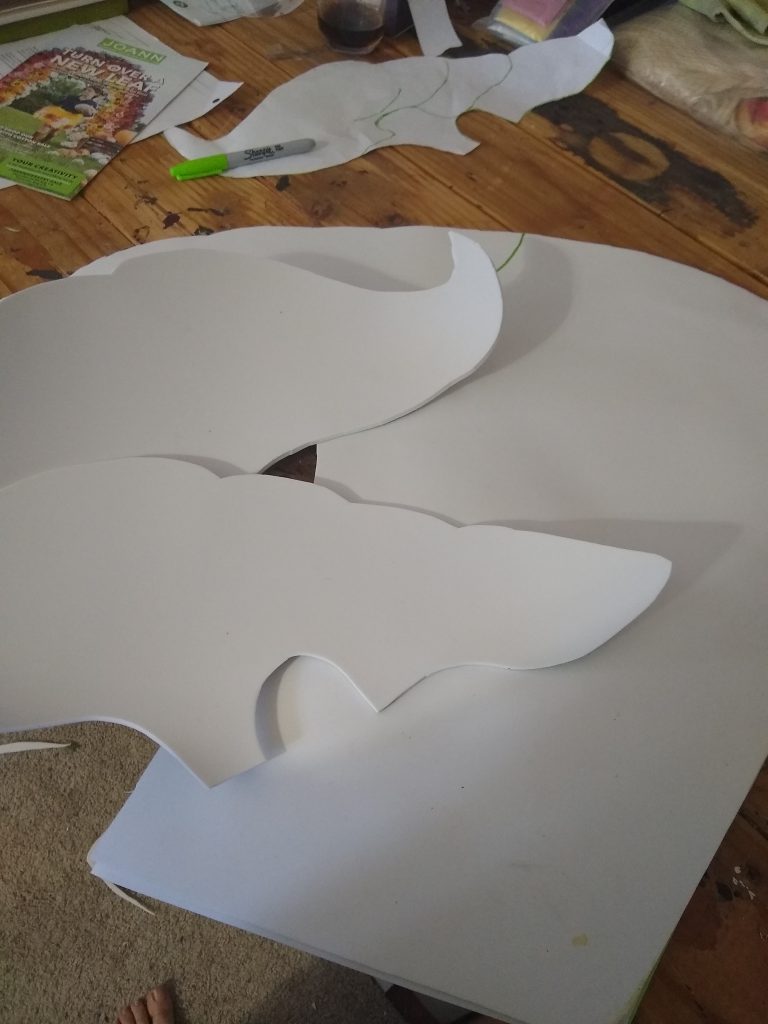
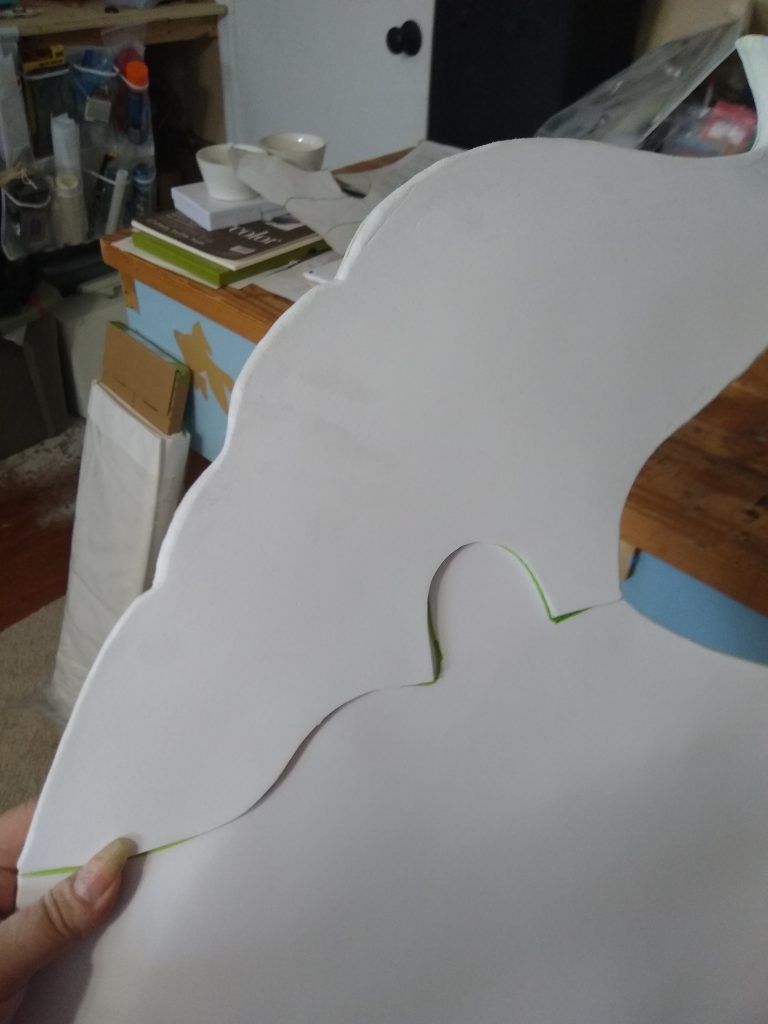
Start with drawing out your design on paper. You can always tape computer paper together to get a large canvas. Draw on some basic details so you can really see what the wing will look like. If you want any areas to be raised above, cut those pieces out separately. For my wings, there is a thicker top portion so I cut two additional pieces so the foam would be 4 layers thick at the top.
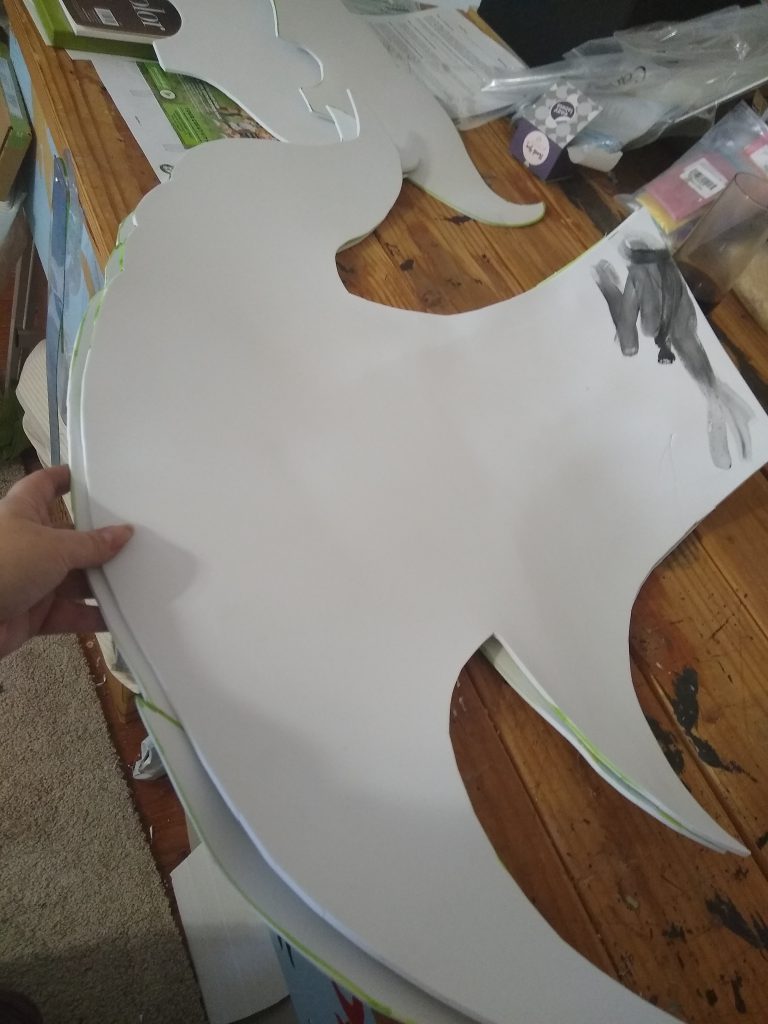
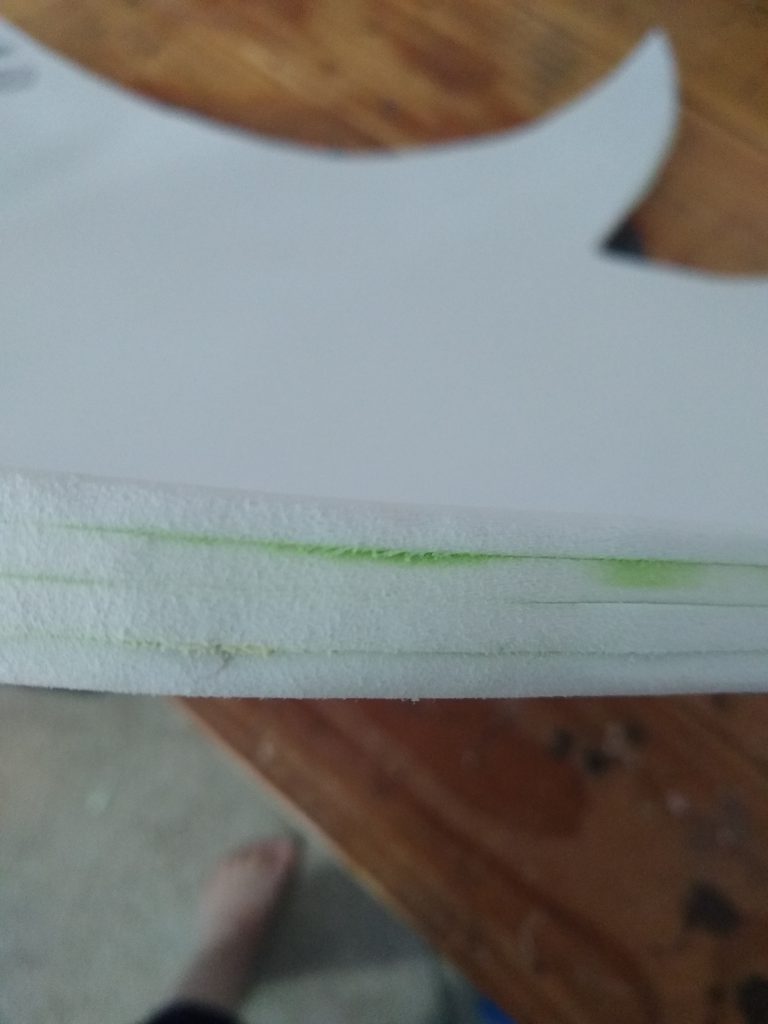
Take your basic wing pieces, your hot glue, and your wire. You’re going to use the wire to make a stabilizer inside the wing, like a skeleton. Don’t use too much, just one or two wires going across and some going down to the points. Use the hot glue to secure small sections in place at a time, if you try to do it all at once it won’t stay in place. It doesn’t have to be pretty, it’s being covered up. Just don’t layer wires on top of each other because they might create bumps once the wings are glued together. Once the wire is secured, take the contact cement and glue the wings together in sections between the wires. Make sure to especially go around the inside edges, but you have some on the wider middle areas too. This will keep wires from shifting.
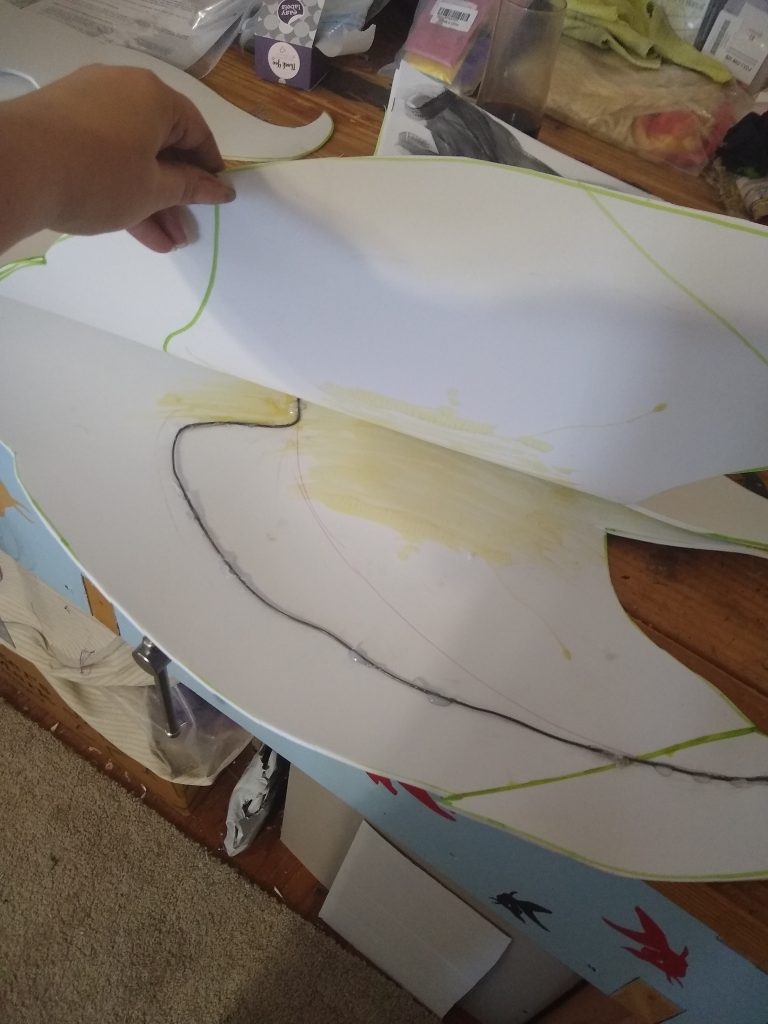
If you have additional pieces, glue those on after you’ve glued the main two pieces together.
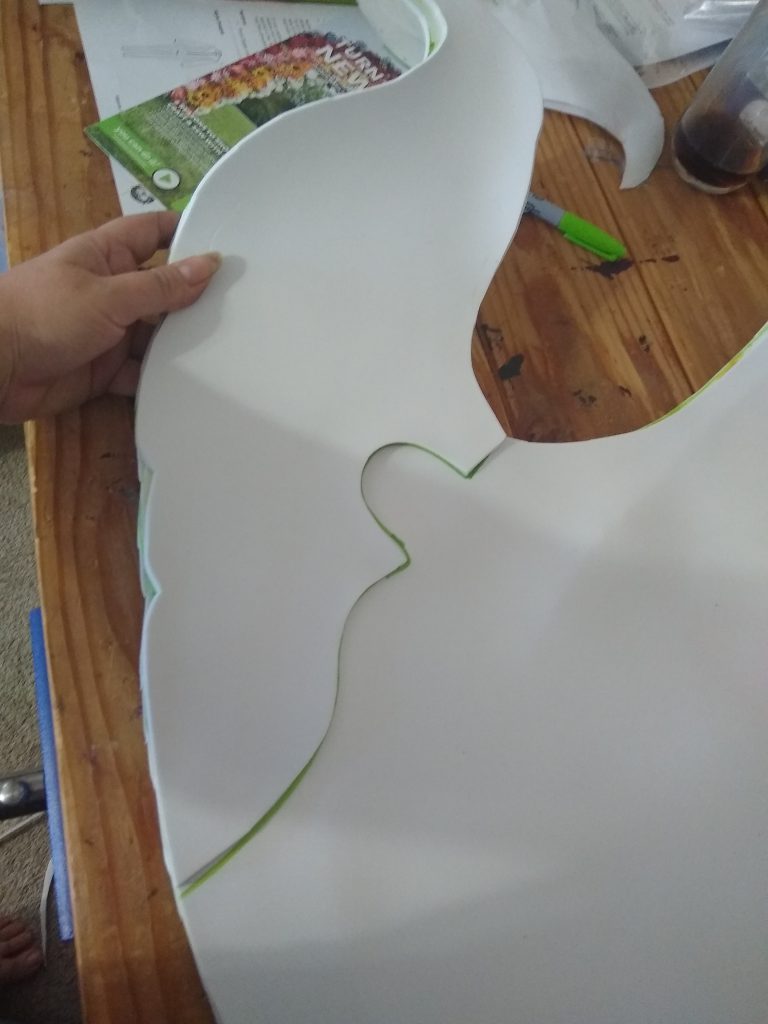
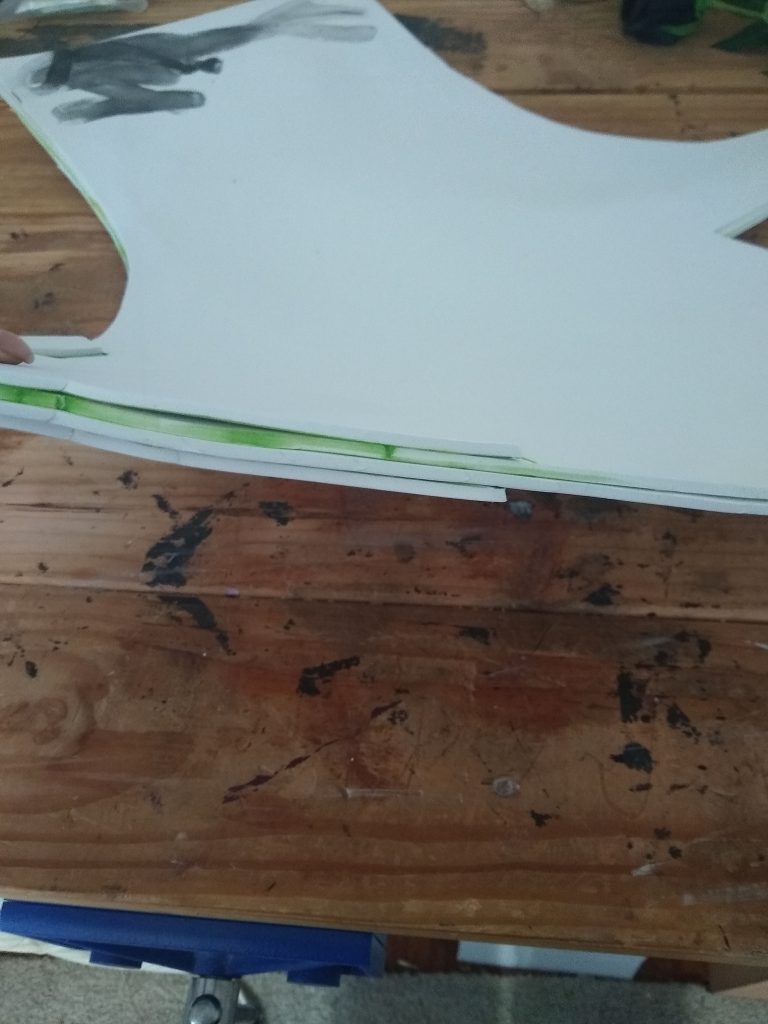
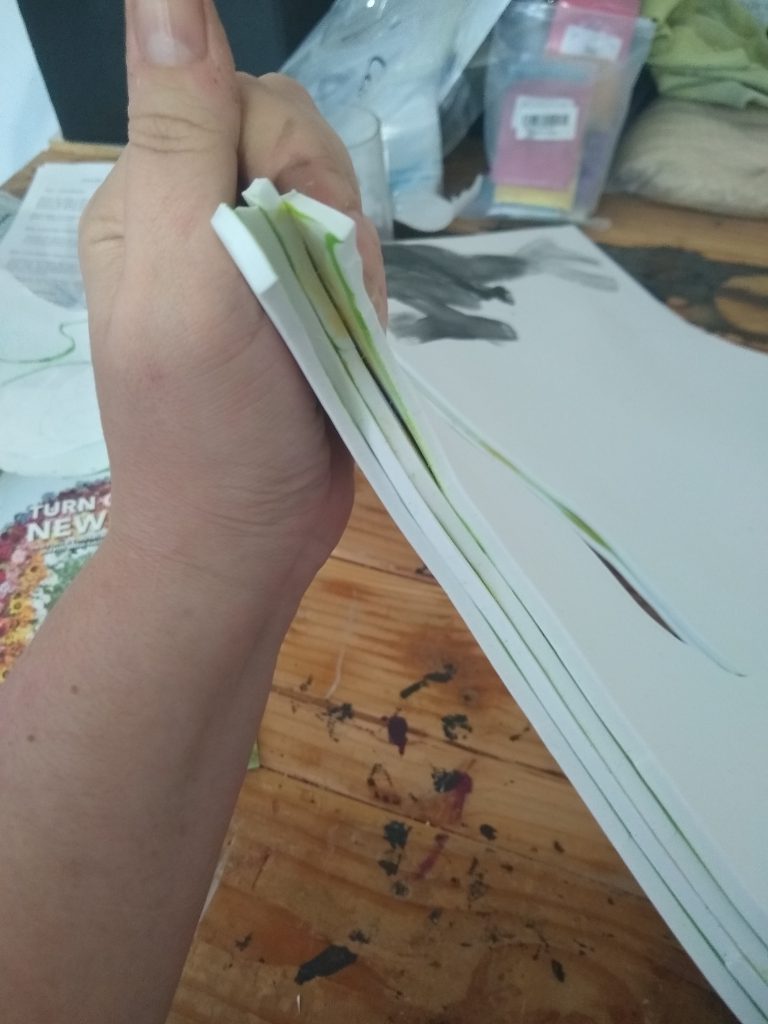
You’ll notice you’re edges don’t line up perfectly, but that’s ok for now, just get everything glued down and let dry.
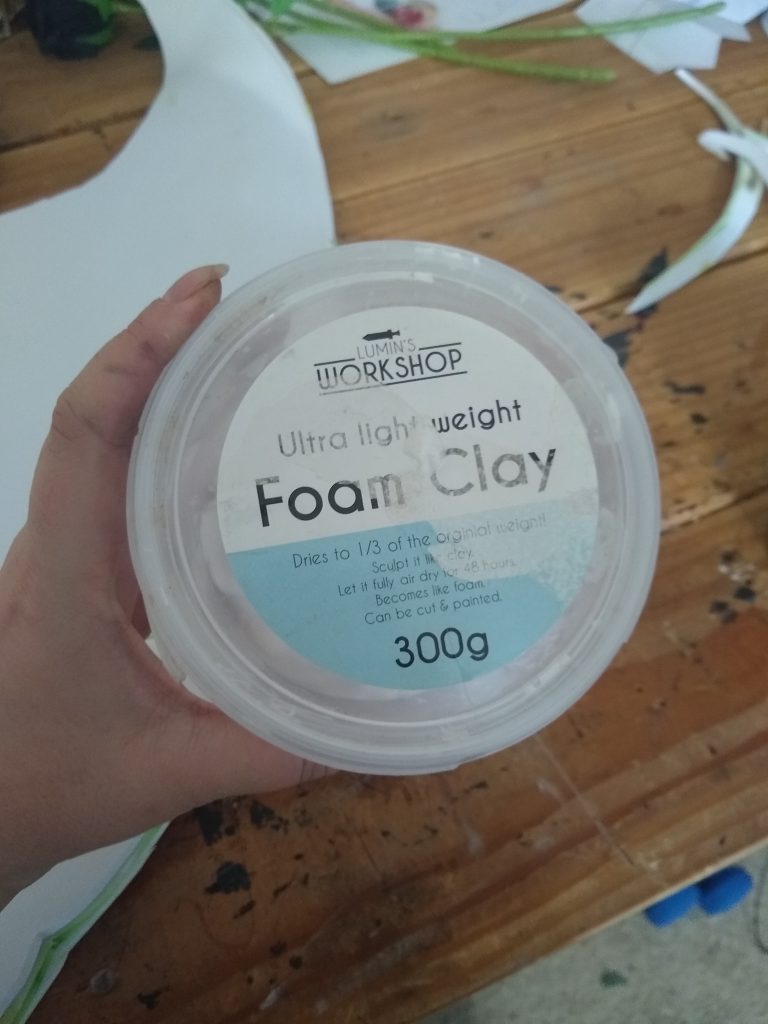
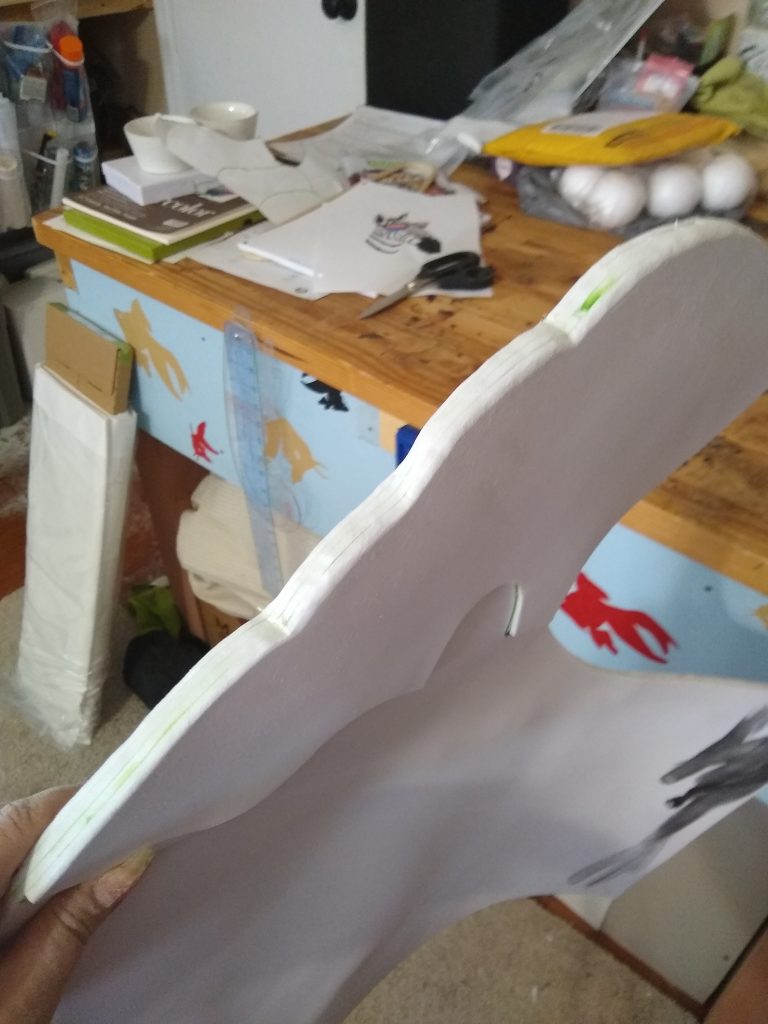
You may notice some gaps or cracks in the wings and I use Lumins Foam clay for that, it’s basically like slime. You can stick it in areas that need to be filled. This is ultra lightweight and I’ve noticed it is much wetter and softer than other foam clays. I like it for this technique mostly, and not for much else. I did use it to add spikes to the wings (see final pictures) but I had to let the clay sit in the air for a little while and firm up before it held shape, otherwise it’s very droopy.
Wait 24 hours and this foam clay is easily sandable! I use my dremel on level 2-3 to sand foam. If it’s too fast it will gouge the foam or rip it. Test your dremel on foam before doing this so you know the best speed for your foam and dremel. The two layers should be pretty easy to go over, slowly rounding the edges for a more natural finish. The 4 layers need a bit more sanding. Be patient, it took me a while before I could really get the technique down so don’t be too hard on yourself if it’s not perfect the first few times. All I can suggest is to practice rounding edges on spare foam.
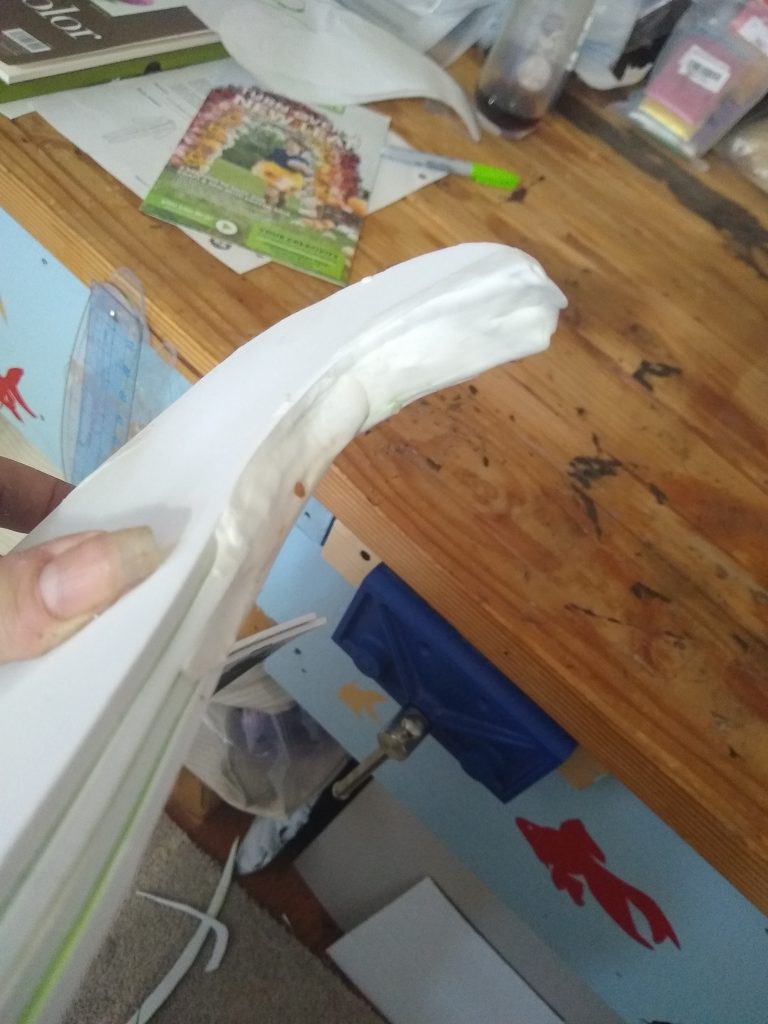
Sand until your edges blend together, you may have some tiny cracks but it is rounded and smooth like the pictures below.

Once finished you can go over with some sandpaper, 220 grit or so depending on your foam.
If you have some cracks you can use QuikSeal. Get a little cup of water, take the Quikseal and push it into the crack using your finger or a popsicle stick. wipe off any excess (it DOES NOT sand off) and then dip your finger in the water to smooth the Quikseal. Let dry!
Before you paint, spray the wings with 3-4 layers of Plastidip. A fine light coat first, then multiple heavier coats. This will require a few cans of spray plastidip, don’t be stingy with it.
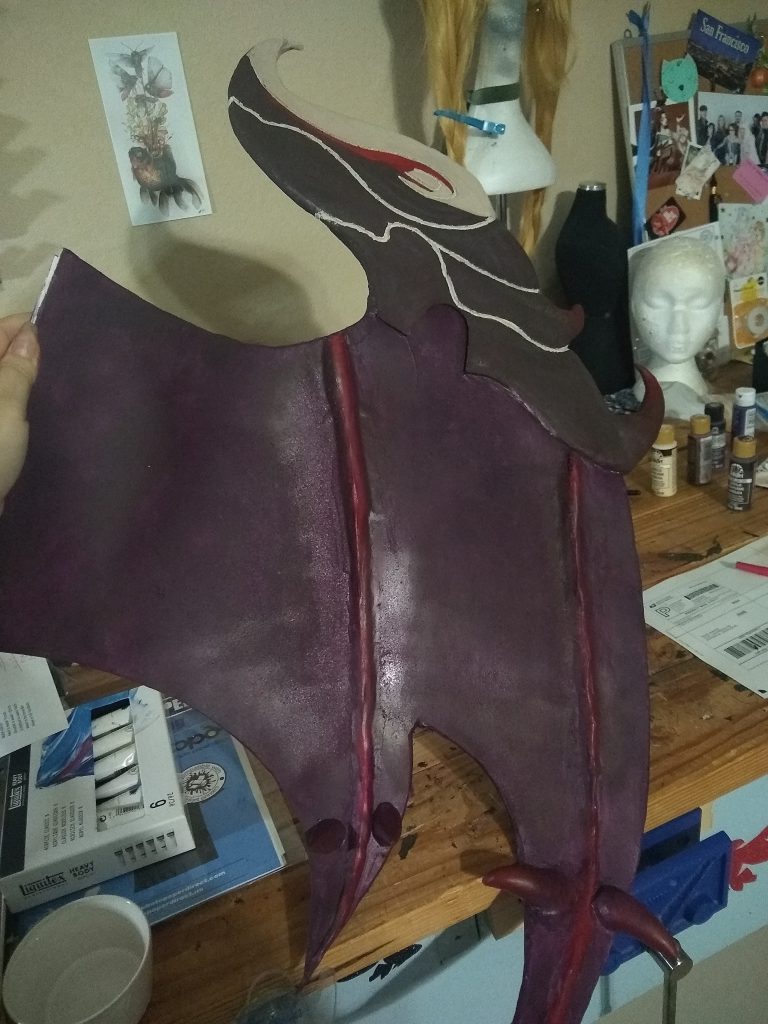
After painting you can either use a spray sealant like a matte or gloss spray alternately you can use a paint on sealant like an acrylic gloss or DecoArt Triple Thick brush on glaze.
All done! The small aluminum wire makes the points slightly flexible so you can curve the wing more inwards or outwards. Outwards is great for photos while inwards can help you get less caught in crowds. It’s not strong enough to hold a weird shape, just enough to let your wing have a little positioning. Now you just have to figure out how to attach them, don’t worry.. that’s the next tutorial.
The Grain Line
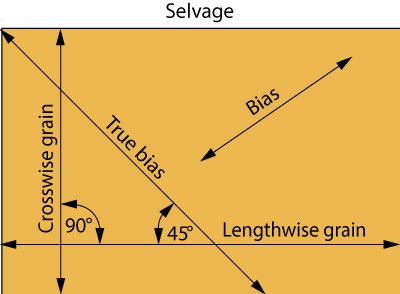
What is the grain line and why is it important? You hear a lot of talk about it when you start sewing. Pay attention to the grain line! And you’re thinking: why? What’s the big deal? So here’s some basic knowledge about the grain line and why you should care about it when sewing.
The grain line is the thread pieces that are woven lengthwise- meaning if you bought a 3 yard piece of fabric those threads would be 3 yards long. You can also tell because they run parallel to the selvage edge (the factory finish edge). Now, you know those arrows on your pattern pieces? They are telling you to lay them parallel to the grain line. This is important because laying your pieces at an angle or across may screw up the final product. WHY? Because of the bias. The bias is the 45 degree diagonal line in your fabric and in most fabrics- it has stretch. If you sew pieces that stretch with pieces that don’t stretch you are going to end up with one funky item and it will probably fit very oddly. The pattern was made for the pieces being placed on the grain. This is also important if you have fabric that stretches a little across but not lengthwise. You probably want that stretch across your bust and waist, and not lengthwise. If you are trying to use the bias on purpose, then you definitely need to pay attention to where you grain line is. Some pattern pieces will be cut on the bias while the rest won’t, it’s about paying attention to directions.
Leather Sewing and Applique
If we’re going to talk about sewing leather, let’s first talk a little bit about types of leather. Some leather is really easy to sew at home, while others are much harder to use with your home machine. Most lamb, goat, and pig skin is thin enough to easily use for jackets and other clothing but cowhide can vary depending on the thickness. Most people assume leather is hard to work with because they are thinking of thick, unyielding cowhide. Using leather with a thickness of .5 – .9 millimeters( 1/64″) is soft and supple and easy to sew. One you get into layers more than 4 or 5, it does becomes difficult to sew with your home machine. One ounce equals 1/64″ in thickness. To give you some ideas- belts are usually 2.8 to 3.2 mm, wallets are 1.6 to 2 mm, gun holsters are 3.6 to 4mm. Most leather shops will list their thickness and some even have an apparel section.
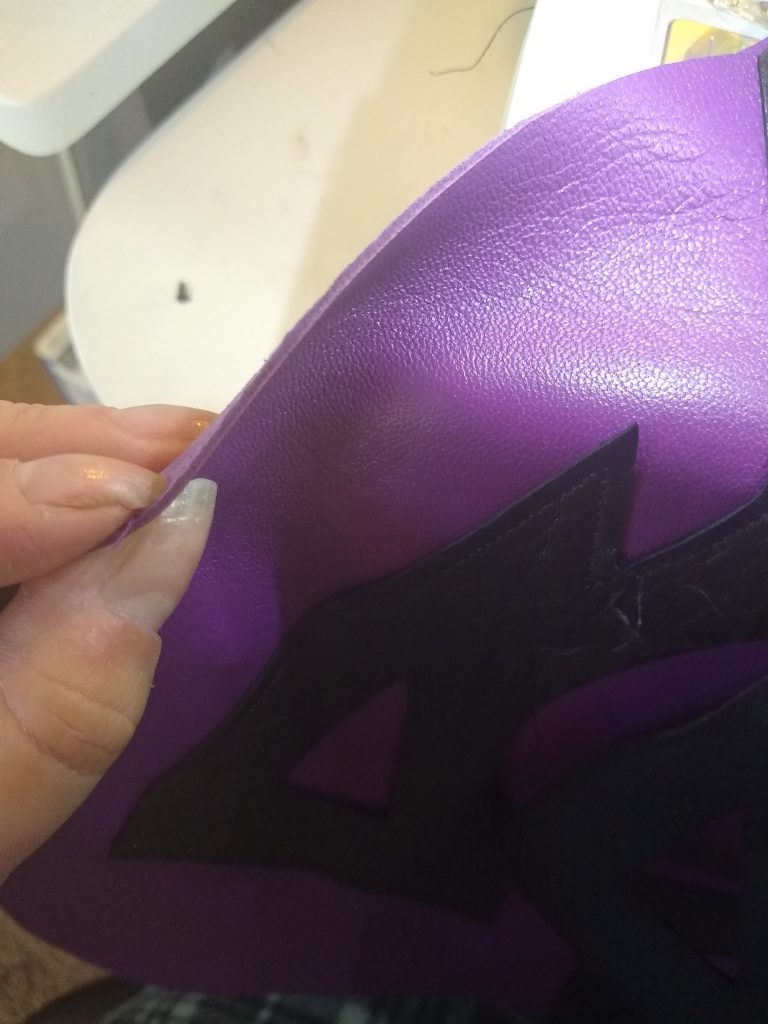
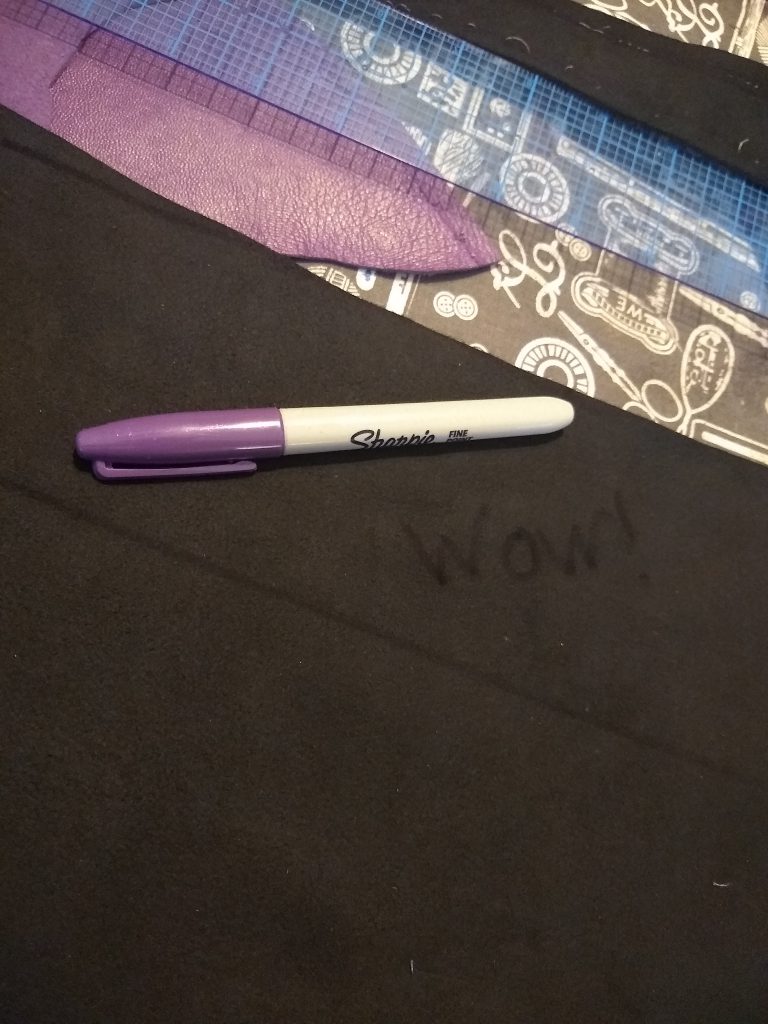
Now that you know a little more about leather, lets talk about sewing it. Leather will show all your mistakes, so it’s important to be careful with pins, marking, and cutting. Use plastic clips to keep pieces together, or pin on the very edge where you will be sewing anyway. Make marks on the wrong side only. I use a sharpie because it even shows up on black. If you’re using white leather, than I suggest blue chalk. When sewing on top of leather use either a teflon foot or a roller foot on your machine. You’ll want to use a leather needle and some study thread.
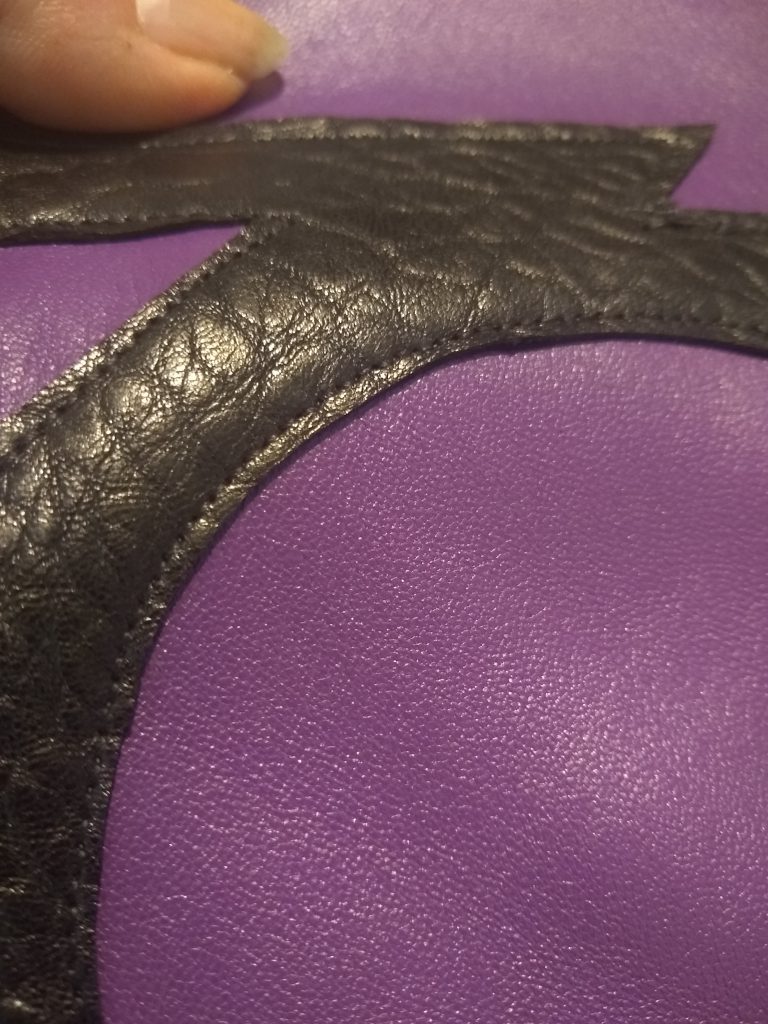
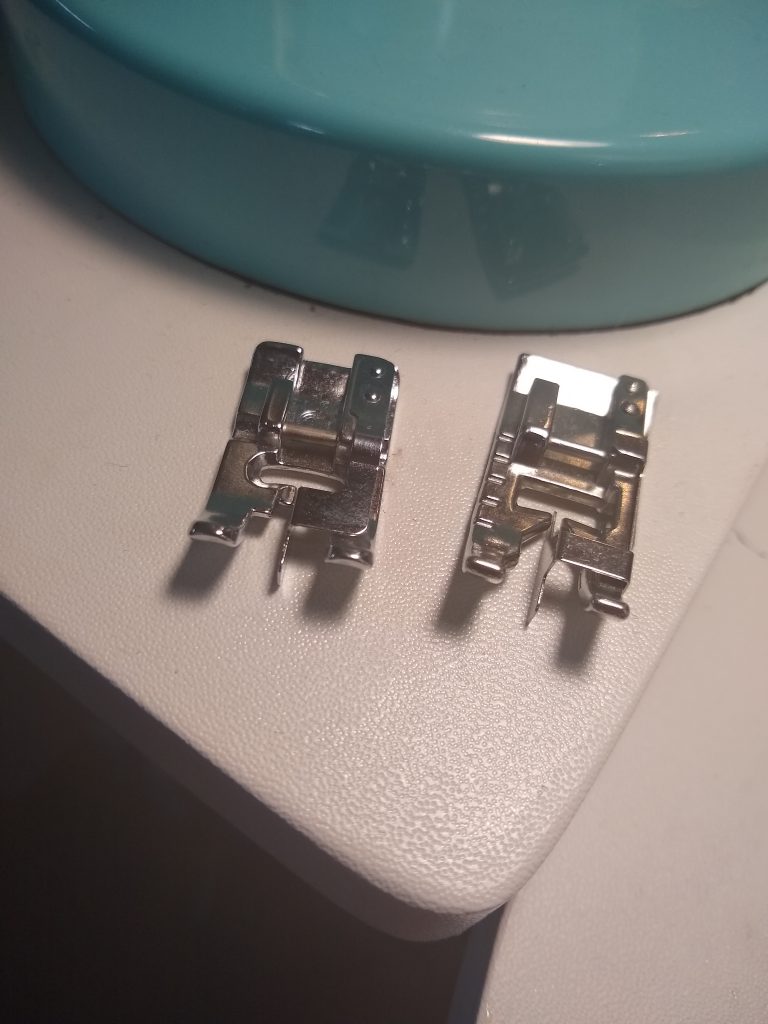
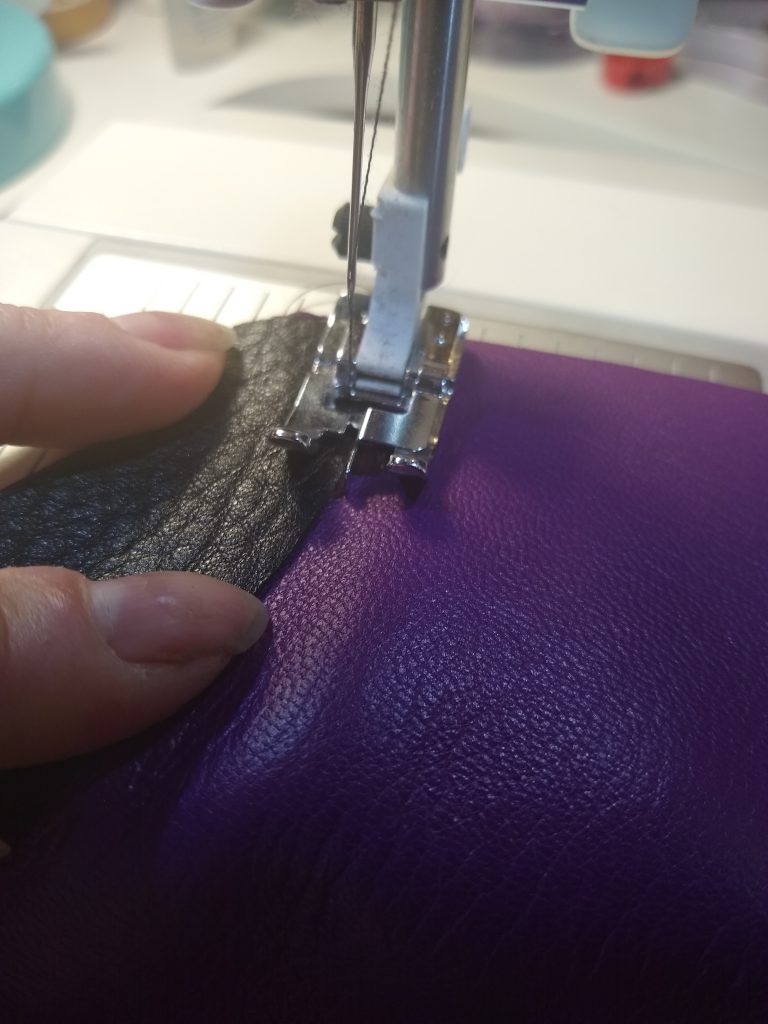
For appliqueing leather on leather I have a few tips. To attach your applique I actually just use masking tape to attach parts of the applique down. There are two feet for your machine that work really great: an edge foot and a joining foot. Sometimes these are interchangeable. The feet have a guide that keeps you an exact distance from the edge (pictured below).
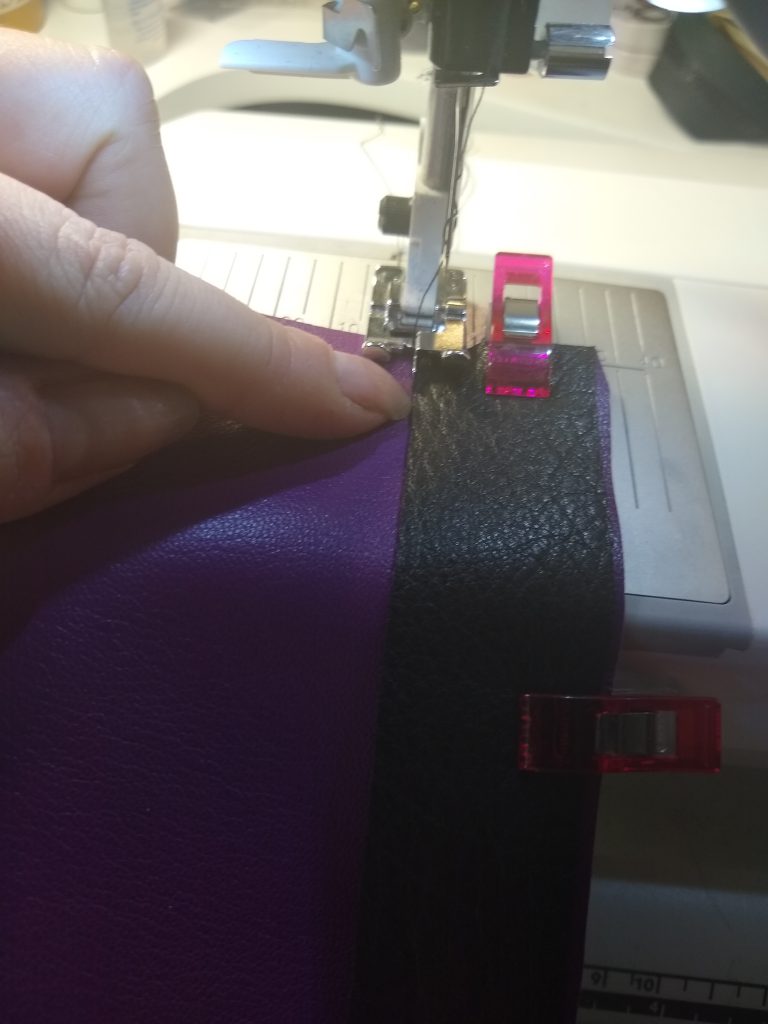
Line up the edge of your leather with your edge foot and move your needle to the far position (shown above). As you sew take it slow and easy. I find that sewing too fast can cause a lot of problems, from losing your edge to breaking your thread to moving your under layer. It’s important to use the correct needle and thread. Using cheap or old thread can cause it to start thinning and coming apart. If this starts happening (see below) then you need different thread or a new needle.

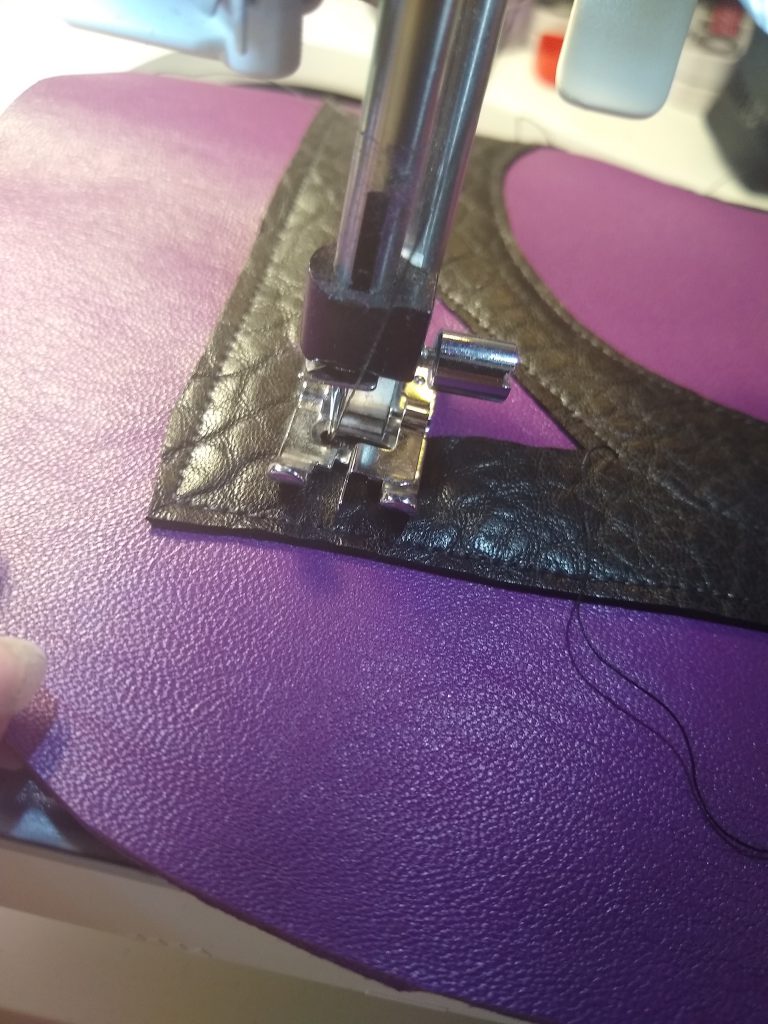
Sewing straight lines can be pretty easy. When doing applique, however, you’re usually doing some crazy shapes. So here are some tips on doing triangles and circles.
When sewing circles, you want to sew very slowly and lift up your foot every 10 stitches or so to let the leather flatten back out. If you don’t do this it will pull the leather as it sews and you’ll get this weird twisted look and have to do it again.
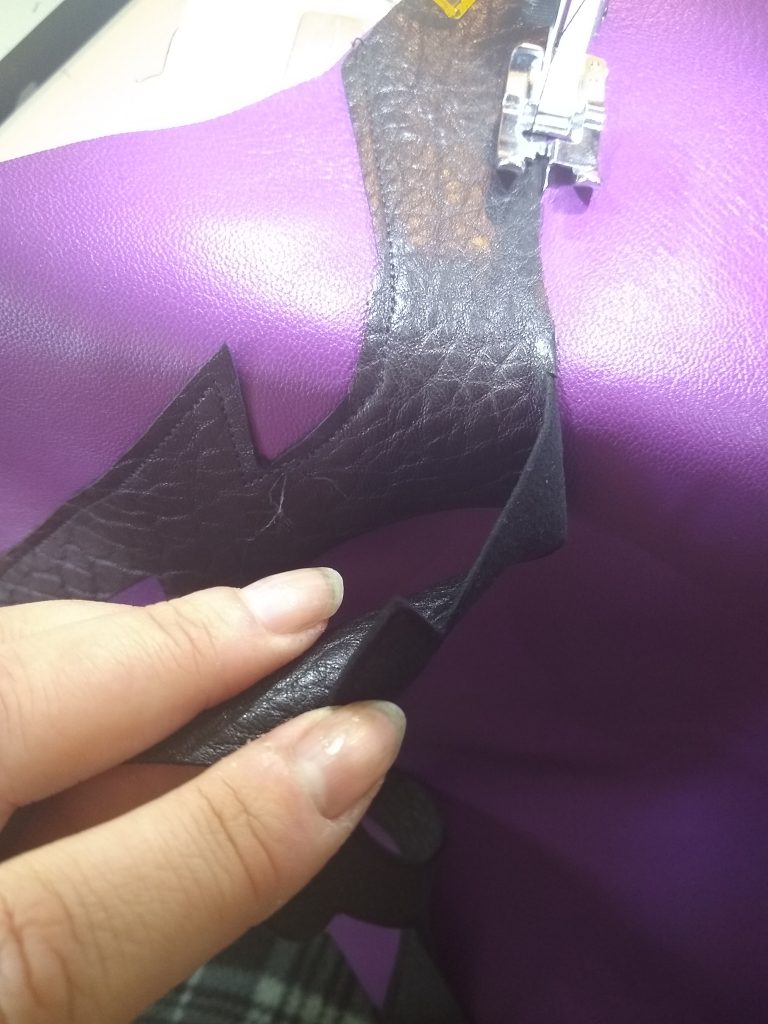
When sewing triangles I will pick up the foot so I can sew about 4 stitches past the edge on the straight sections, then pick up the foot and turn the leather so I can go down the next side. It’s a bit of a guessing game, but you want to be past the edge about 3-4 stitches.
Pay extra attention to meeting up the last stitches and make sure that they actually meet, otherwise you’ll have a gap of stitches on the corner of your triangle.
It’s important to keep a good grip on everything as you sew, leather moves very easily and you can’t remove those holes from the stitch lines.
Leather is sold by the hide- so it’s hard to measure out. Lambskin is usually 6-9 square feet, pig skin is usually 7-9 square feet and cow hide is sold by half hide (27 sq ft) or whole hide (55 sq ft) and other smaller pieces. It can also be pretty expensive so make sure you know how much you’re going to need. For my knee length leather jacket with hood and half sleeves I used 10 lambskin hides. Hides are not square, they have odd different shapes so you’ll have to work with what you get. With lambskin you won’t be able to have whole long uncut pieces, you’ll have to get creative with seams.
I really like working with both vinyl and leather and I’m still learning. I can’t wait to continue to learn what this material can do. Have any questions? Ask in the comments below.